Windows Repair Toolbox Interface Explained for Beginners (Complete 2026 Guide)
Computer repair tools can sometimes look complicated, especially for beginners who are trying to troubleshoot system problems for the first time. Fortunately, Windows Repair Toolbox is designed with a clear and organized interface that helps users access powerful diagnostic and repair tools without needing advanced technical knowledge.
If you are new to the platform, understanding the interface is the first step to using it effectively. This guide explains every section of the Windows Repair Toolbox interface so you can confidently diagnose problems, remove malware, and repair your system.
By the end of this article, you will know how to navigate the dashboard, launch tools, monitor system performance, and use the platform like a professional technician.
What Is Windows Repair Toolbox?
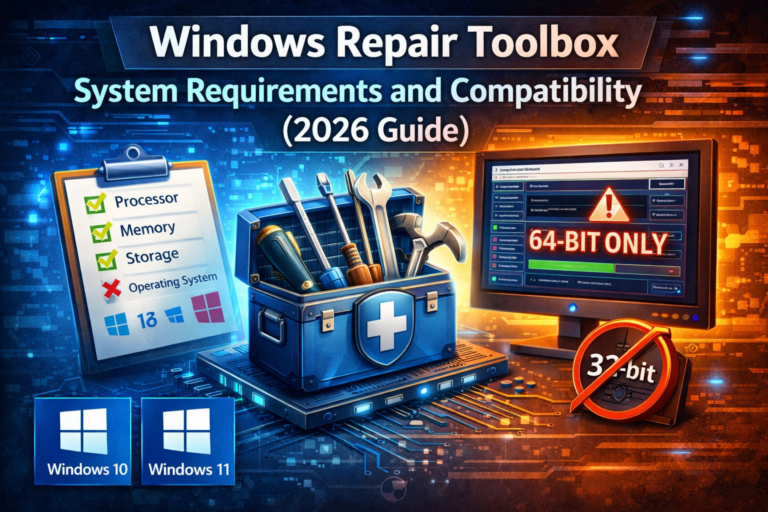
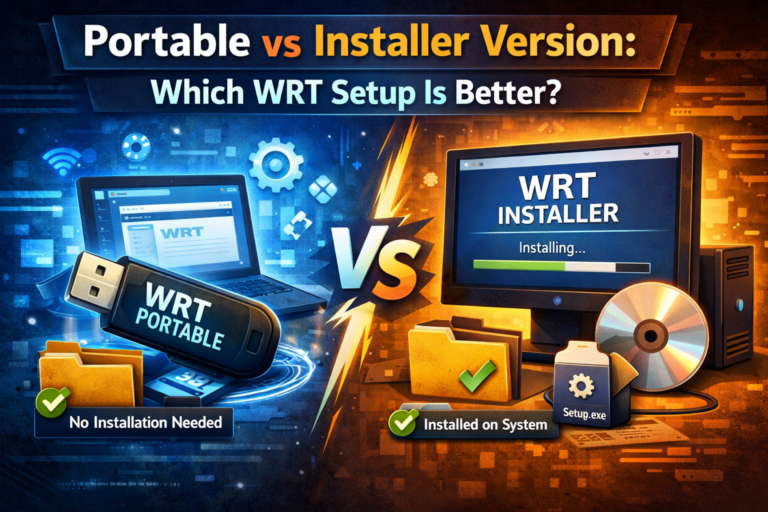
Windows Repair Toolbox is a portable toolkit designed to simplify the maintenance and repair of computers running Microsoft Windows.
Instead of installing multiple programs separately, this toolkit gathers dozens of utilities in one place. When you click on a specific tool, the program automatically downloads it from its official source.
This approach ensures that you always use the latest version of each repair utility.
The software is compatible with modern operating systems such as:
- Windows 10
- Windows 11
Because of its portability and flexibility, it has become a favorite among IT professionals and computer repair technicians.
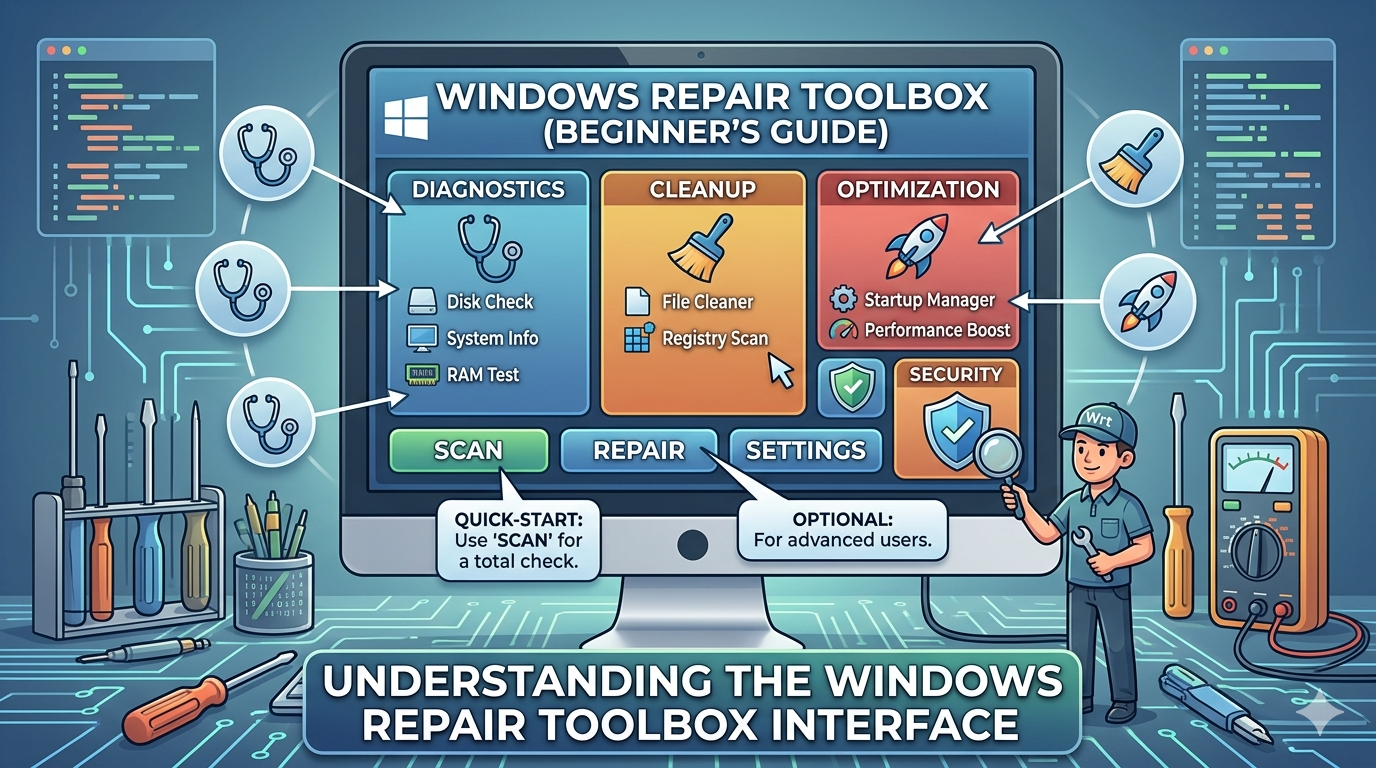
Overview of the Windows Repair Toolbox Interface
When you launch Windows Repair Toolbox, the main window displays a dashboard containing several sections organized by function.
The interface typically includes:
- Tool categories on the main panel
- System information panel
- Tool launch buttons
- Status indicators
This layout allows users to quickly access the most important repair utilities.
Unlike many repair programs that hide features behind complicated menus, Windows Repair Toolbox presents tools in a simple grid layout, making navigation straightforward.
Main Sections of the Interface
Understanding the different sections of the interface helps you use the program efficiently.
1. Malware Removal Section
One of the most important categories in the toolbox is the malware removal section.
This area contains tools designed to detect and remove malicious software from your system. Malware infections are a common cause of slow performance, unwanted pop ups, and system instability.
Some of the popular utilities accessible from this section include:
- Malwarebytes
- AdwCleaner
- HitmanPro
These tools specialize in detecting threats such as spyware, ransomware, adware, and browser hijackers.
For most repair workflows, technicians begin by scanning the system for malware before performing other repairs.
2. System Repair Tools
The system repair section contains utilities designed to fix corrupted Windows files and restore system stability.
These tools can help solve issues such as:
- Windows errors
- missing system files
- application crashes
- operating system instability
One commonly used tool in this category is System File Checker, which scans protected system files and replaces damaged versions automatically.
Running system repair tools can often resolve problems without reinstalling the operating system.
3. Hardware Diagnostic Tools
If your computer experiences random crashes or freezes, the problem may be related to hardware rather than software.
The hardware diagnostics section includes tools that analyze components such as:
- RAM memory
- hard drives and SSDs
- CPU performance
- system temperature
By monitoring these components, technicians can detect failing hardware before it causes serious data loss.
4. System Optimization Tools
Over time, computers accumulate unnecessary files and processes that reduce performance.
The optimization section of Windows Repair Toolbox includes utilities that help improve system speed by performing tasks such as:
- removing temporary files
- cleaning outdated registry entries
- managing startup programs
- uninstalling unnecessary software
Using these tools regularly can significantly improve the responsiveness of your system.
System Information Panel
Another useful part of the interface is the system information panel.
This panel provides a quick overview of important system metrics such as:
- CPU usage
- RAM usage
- disk activity
- operating system details
Technicians often check these indicators before starting a repair process because they can reveal performance bottlenecks.
For example, high CPU usage may indicate malware or background processes consuming excessive resources.
How to Launch Tools from the Interface
Using tools inside Windows Repair Toolbox is simple.
Follow these steps:
- Open the program.
- Locate the category that contains the tool you want to use.
- Click the tool’s button.
- Wait for the software to download the utility if it is not already installed.
- Launch the tool.
Because the software downloads tools only when needed, the program stays lightweight and efficient.
Recommended Workflow for Beginners
If you are new to Windows Repair Toolbox, it helps to follow a structured repair process.
A typical workflow includes:
Step 1: Run a Malware Scan
Start by scanning the system with malware detection tools to eliminate threats.
Step 2: Check Hardware Health
Verify that your memory and storage devices are functioning correctly.
Step 3: Repair System Files
Use system repair utilities to fix corrupted Windows files.
Step 4: Optimize Performance
Clean temporary files and disable unnecessary startup programs.
This process solves most common computer problems.
Tips for Navigating the Interface Efficiently
Once you become familiar with the interface, you can work much faster.
Here are some helpful tips.
Organize Frequently Used Tools
Download the tools you use most often so they are ready when needed.
Monitor System Performance
Keep an eye on the system information panel to detect unusual activity.
Run Diagnostics Before Repairs
Always diagnose the system before applying fixes.
Keep the Toolbox Updated
Ensure that downloaded tools remain updated for best performance and security.
Common Interface Questions
Why does the toolbox download tools automatically?
The toolbox downloads tools when needed to ensure you always use the latest version.
Can I run the program from a USB drive?
Yes. Windows Repair Toolbox is a portable application that can run from removable storage devices.
Does the interface work on all Windows versions?
The program works best on modern systems such as Windows 10 and Windows 11.
Final Thoughts
Understanding the interface of Windows Repair Toolbox is the first step toward using this powerful repair platform effectively.
The software provides an organized environment where users can access malware removal tools, system repair utilities, hardware diagnostics, and performance optimization tools from a single dashboard.
For beginners and technicians alike, learning how to navigate the interface allows faster troubleshooting and more efficient system maintenance.
Once you become familiar with the layout and workflow, Windows Repair Toolbox becomes an incredibly valuable resource for maintaining and repairing computers running Microsoft Windows.